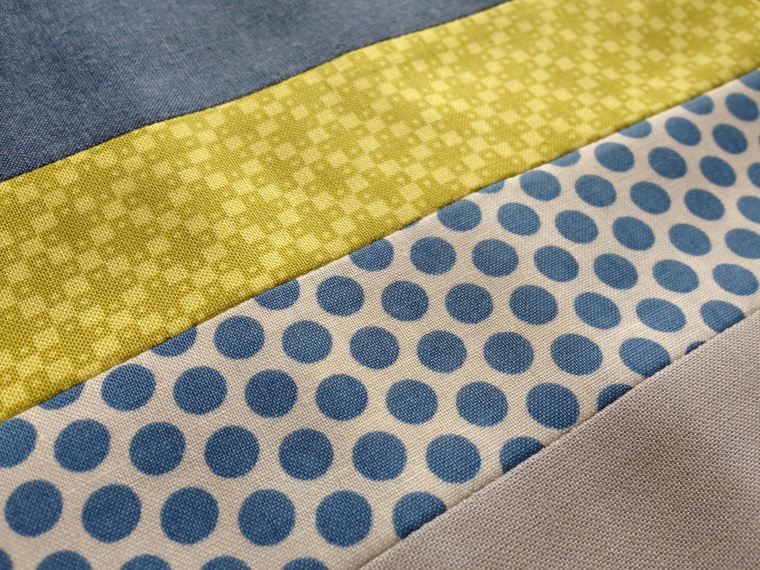
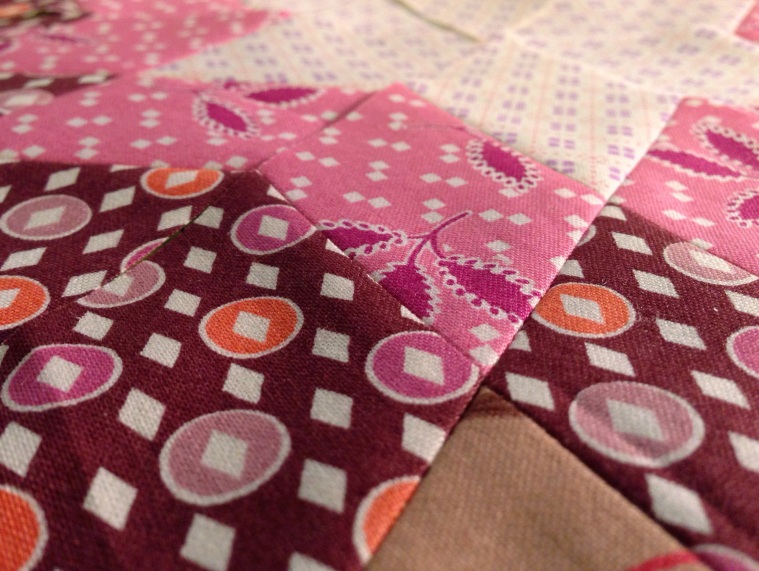
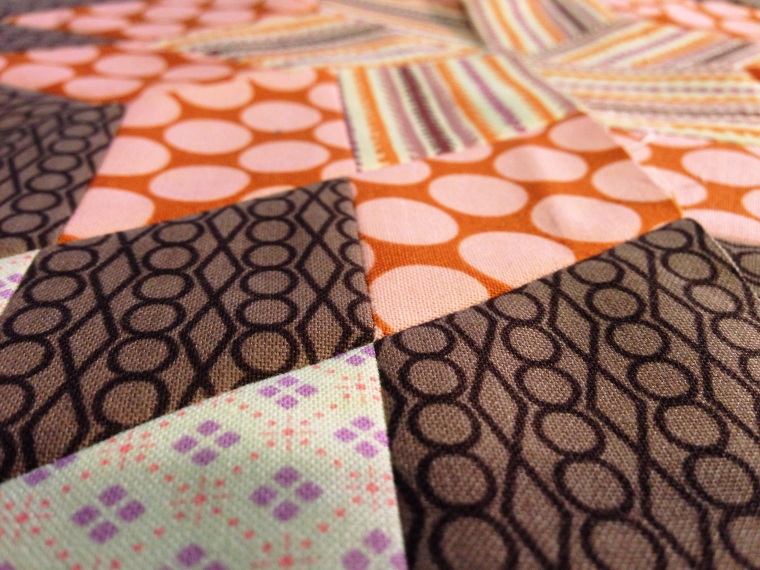
All my blocks are complete for this rail fence quilt in a super modern color scheme perfect for a boy. Now I just need to trim them up and sew them together!
Finally Quilting Again
A few wonderful things have all come together at the same time, which has given me the ability to quilt again: my boy goes to preschool a few times a week, I finally started organizing my sewing space/guest room, I have learned how to sew in small windows of time, and I started a project that keeps my perfectionism at bay.
I have way too much fabric, so I’ve decided to destash the stuff I don’t love by… what’d’ya know… quilting with it. And who better to quilt for than kids who need some extra love and attention! My goal for this year is to practice new quilting techniques by making quilts for charity from fabrics that I would probably donate anyway.
I thought I would hate the finished product and just be happy that I was helping out a child in need, but I actually kind of like what I’ve started. Not enough to keep it, but enough to be proud of it. Can’t wait to post updates with more progress!
Girlie Birthday Party Gift – Quick Tutu
My son just got invited to his first birthday party ever,
and the theme is…
wait for it…
PRINCESSES!!!
It’s for a little girl at his preschool who is turning 4, and honestly I’m not sure why he’s even invited. Details, shmeetails, I get to make girlie gifts!
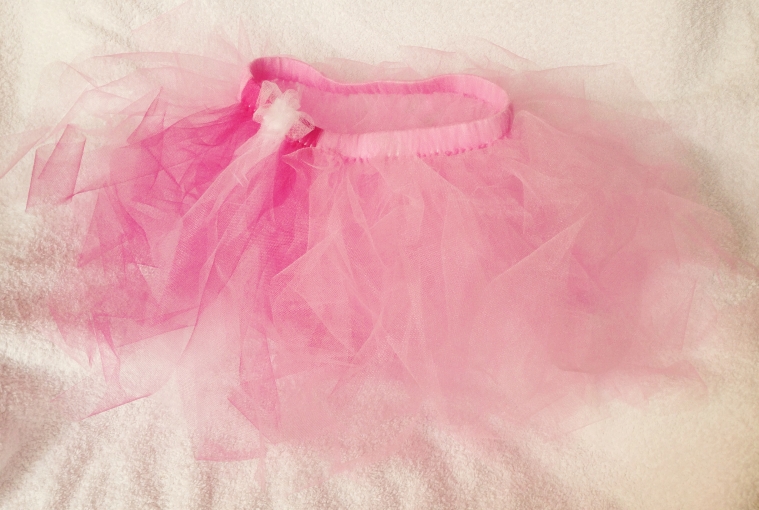
Her mom said her favorite colors are pink and dark pink, so I decided to make a quick poofy tutu and a cute little apron. I have a million other things I’d like to make for her, but I’m trying to control myself.
Although this isn’t a complete tutorial, I wanted to document the basics so that I can refer back to it in the future.
I used approximately 3 yards of tulle (I think it was 54″ wide) – 2 yards of the main color, and 1/2 yard each of two accent colors. With the tulle folded edge to edge, I cut 2″ strips (no need to be precise). Then with scissors, I quickly cut each strip in half on the fold. So the final strips will measure approximately 2″x 27″.
Next I cut a 22- 24″ piece of elastic (I used pajama elastic that was maybe 3/4″ wide). I sewed the ends of the elastic together by overlapping them 1-2″ and zigzagged stitched along each end. I’ll report back if this indeed fits an average 4 year old girl, as I used my skinny almost 3 year old boy as a dress form.
Then I folded each tulle strip in half, wrapped the folded tulle around the elastic, and fed the ends through the loop formed at the fold. When you tug it snugly against the elastic it stays put and lets the tulle poof out nicely. I arranged the accent color tulle how I wanted and then filled the rest of the elastic with the main color. I believe I did 5 dark pink, 6 white, 5 dark pink. When I was done, I arranged one last strip of tulle into a flower and sewed it to the waistband.
You could easily have your child help make this for their friend. I’m not in love with how the waistband looks with this method, but it’s a pretty awesome gift for a girlie-girl and probably cost just $5 in materials.
The apron is almost finished, so I’ll share that next.
Trick-or-Treat Bag
No need to go into gory details… but don’t let anyone tell you that a baby will adjust to your lifestyle! Let’s just leave it at – it’s been almost 2 years since my last post.
In the last few months I’ve finally gotten back into the swing of all things fabric and crafty, so I have lots to share with you! With Halloween just around the corner I wanted to make sure my little man won’t have to collect candy in an old pillowcase or a plastic pumpkin. When I was a kid, my mom made me a kick-ass trick-or-treat bag with dangling witch legs, so I obviously must do the same for my own child.
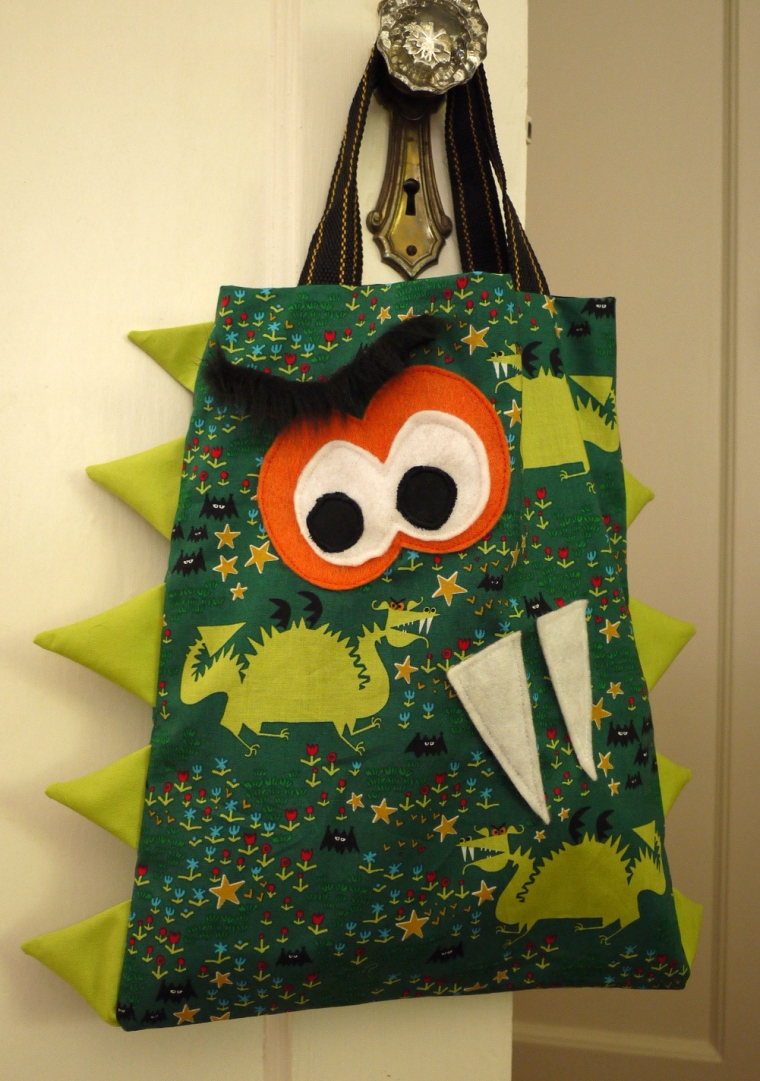
Over the summer, I found this amazing dragon/bat fabric by Cloud9. As I was watching them cut my yard, it hit me that this was the perfect fabric for a Halloween creation.
I tried to mimic the dragon in the print by adding eyes, teeth, and spikes. The eyes and teeth are felt, the eyebrows are made from a furry trim I got at JoAnn’s, and the spikes are Kona Chartreuse to match the dragons. The inside is lined with solid black, so that the candy “disappears” when you toss it in. The handles are up-cycled from a free conference tote my father-in-law was going to trash.
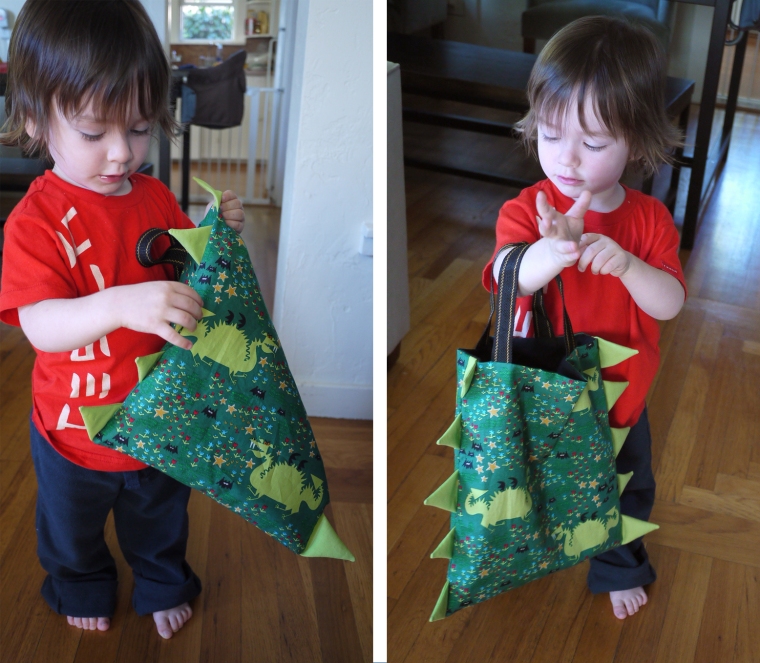
Even though he has no clue what it’s for, I guess my boy likes it (that expression is ecstatic for my serious child). I’m hoping we can make it around our entire cul-de-sac on Halloween, which translates to 11 pieces of candy.
snuggly blankets for my little one
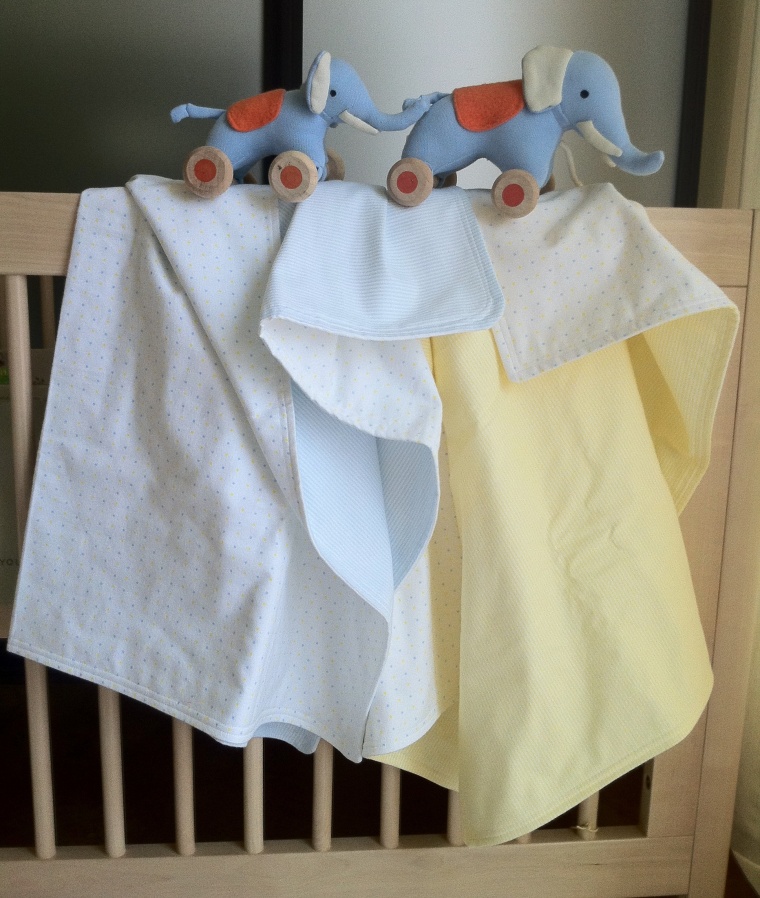
After making quite a few flannel baby blankets for friends over the past year, I decided that my future arrival needed some too. I just used what was in my stash – sweet and simple dots and stripes in pale blue and yellow. We live in SoCal so I know that he’ll need some lightweight blankets, and I’d love to try a voile and cotton combo next. His crib bedding fabric arrives tomorrow!!!
the awesomest ride on the block
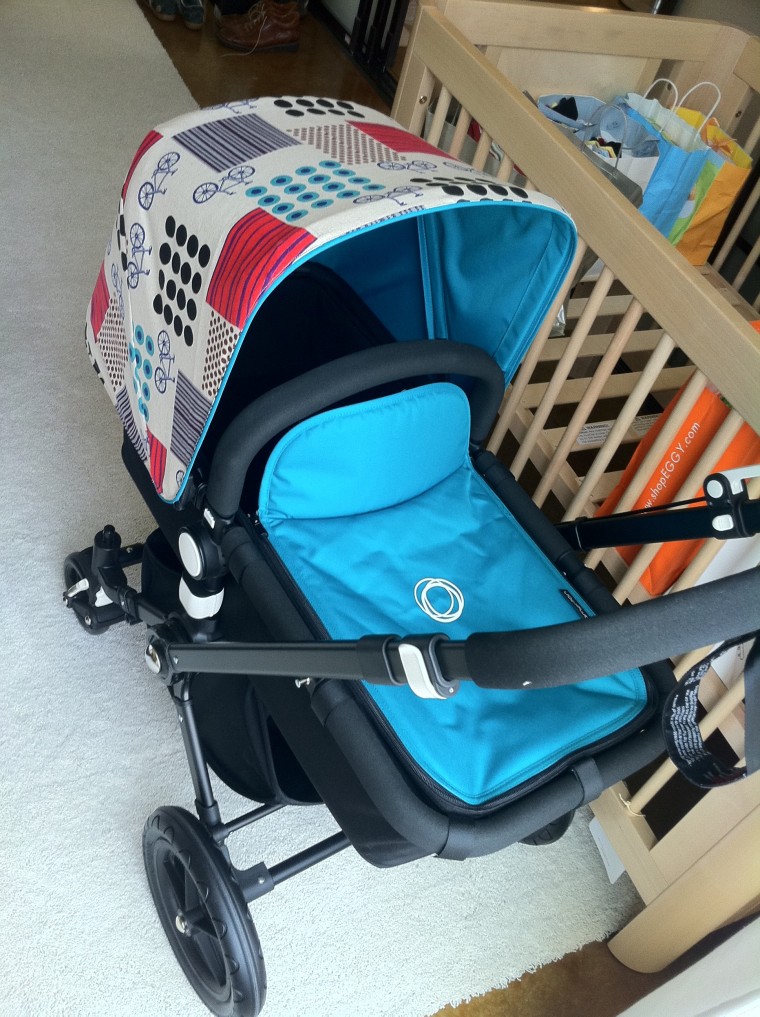
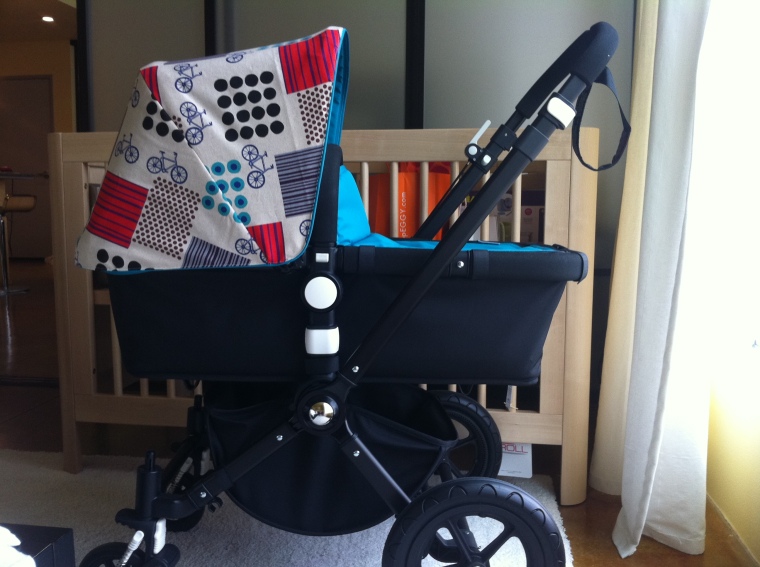
Apparently, since I now have the ability to do so, nothing is good enough without my customizing it. Our little guy’s stroller is the limited edition Bugaboo Chameleon Ocean, yet I immediately wanted to make it unique. And what’s better than discovering that the Echino fabric you have in your stash matches perfectly, and is fit for a boy?!? There’s a million ways to approach this sewing project, but I decided to just cover the existing canopy so I wouldn’t have to line it or make the interior slip pockets for the plastic structure pieces.
Here are the basic steps for how to make the canopy cover.
Step one: trace the two canopy panels onto the fabric of your choice leaving ample (minimum of 1 inch) allowance for errors and cut them out.
Step two: pin the two pieces wrong sides together, set on top of taut canopy, then re-pin the major seam till perfect.
Step three: sew the major seam , iron the seam open, and set right side out on top of canopy.
Step four: turn under the extra fabric along the raw edges, pull taut, and pin to the canopy edging.
Step five: sew all the way around the exterior, making sure to only sew through the edging.
It sounds like a quick sew, but of course it took me quite awhile. I love the final look even though it’s not perfect. I can’t wait to take him out for a stroll!
a stocking for baby
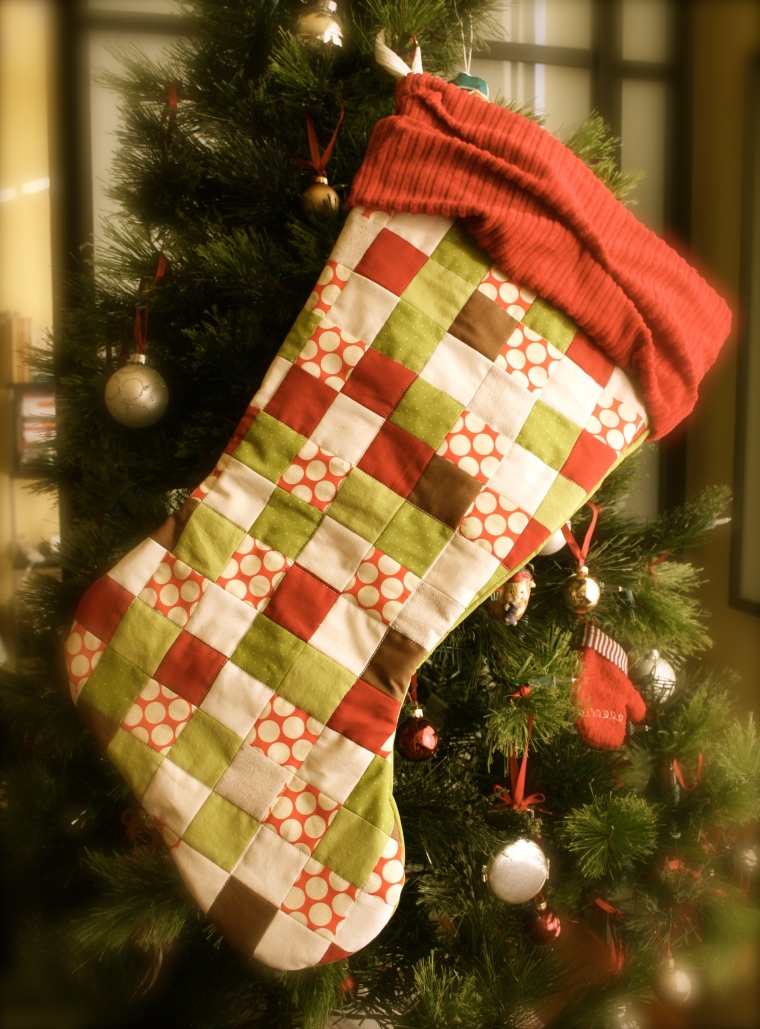
Even though he’s not here yet, I really wanted to have his stocking ready for this Christmas. Maybe because it’s easier for me to commit to a stocking idea than his “official” quilt design.
I gathered some simple holiday colored fabrics and made a big panel of 1.5″ patchwork. The cuff is corduroy bunched up for a slouchy look that I love. Now he’ll have the same mommy-made stocking every Christmas for his whole life 🙂
Santa brought him an adorable book, “Little Hoot”, about an owlet who just wants to go to bed at a decent hour. He already has “Little Pea”, and just needs “Little Oink” to complete the set.
the best excuse if you become a slacker-blogger…
I’m pregnant!
Well, really it’s the best excuse for everything 🙂
Yep, we’re expecting a boy in mid-March. We couldn’t be more excited, and I have to admit, anticipating his arrival has really brought back my drive to make and create. I’m finally motivated to sew all sorts of things for the little guy.
i’m baaa-aaaack!
Don’t ask me what happened to my sewing mojo, but it’s been MIA for months. I suppose I sort of have an excuse (a surprise to be revealed tomorrow), but honestly, just looking at my sewing machine was too overwhelming for my pea brain.
Here’s a list of some of the fun things I started working on this week and will be sharing with you as I make progress:
1. Stocking for someone special
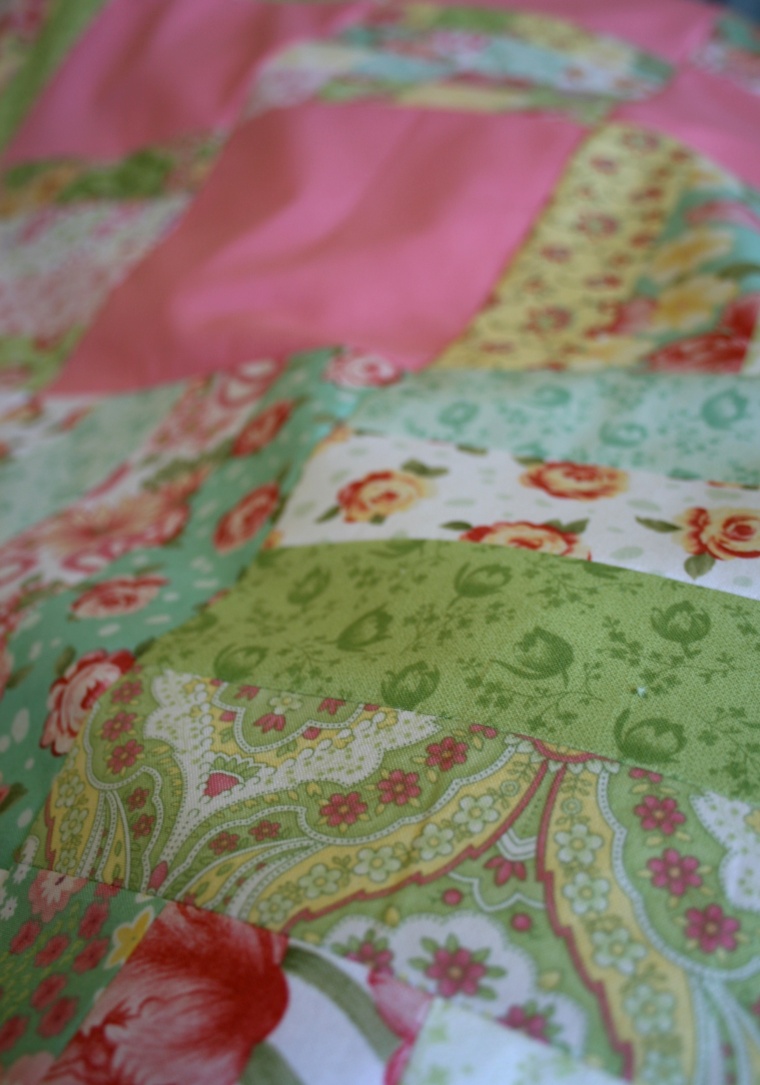
2. A girlie quilt for ME!
3. Baby boy playmat/quilt
… there’s a lot more on the master list, but let’s not get carried away!
Happy Holidays.

